
What Size Camera Bag Do You Need? Capacity & Fit Guide
What size camera bag do you actually need? For a small mirrorless camera and compact lens, a 3–6L sling may be enough. For a body, several lenses and a few accessories, a 10–20L camera bag is often a useful starting point. Larger kits, laptops, tripods and clothing may call for 20–30L or more. But these are shopping ranges, not guarantees: a 20L bag can fail to accommodate a long mounted lens that fits in a carefully designed 11L camera backpack.
The right decision starts with the longest, widest and deepest equipment you intend to carry, not the largest liter rating you can afford. This practical guide explains capacity, internal versus external dimensions, how padded dividers reduce usable space, and when to choose a sling, dedicated backpack or removable insert. It includes real manufacturer examples and a repeatable fit checklist you can use before spending money.
Editorial transparency: These recommendations explain camera-bag geometry and compare published manufacturer specifications. They are not claims that every bag was purchased, loaded or field-tested by Proton-Pack. Dimensions and fit statements can change with product generations, lens designs and packing arrangements. Always confirm the specific product listing and your actual camera measurements.
Camera bag size chart: a practical starting point
| Advertised capacity | A reasonable first use case | What may force a larger or different bag |
|---|---|---|
| Approximately 2–4L | Compact camera or small mirrorless body with a short lens, batteries and cards | Large grip, bulky zoom, more than one spare lens |
| Approximately 5–8L | Small mirrorless setup with one or two compact extra lenses | Long mounted lens, tablet, thick dividers or extra personal items |
| Approximately 9–12L | Small DSLR or mirrorless kit with 1–3 lenses, depending on shape | Full-size telephoto, laptop, jacket, wide camera grip |
| Approximately 13–18L | More organized camera kit, additional accessories, possibly tablet or compact tripod | Long telephoto, multiple bodies, laptop plus bulky clothing |
| Approximately 19–25L | Camera gear alongside laptop, travel items or outdoor layers | Several large zooms or an extensive pro system |
| Approximately 26–35L+ | Larger photography and travel kits needing distinct equipment and personal-item space | Overpacking, carry-on restrictions, excessive weight |
A good first question is whether the pack should be camera-only or camera-plus-everyday-carry. If you only need a body and spare lens, compare our camera sling versus backpack guide. If you also carry a water bottle, jacket, laptop and charger, assess the combined load using our camera backpack buying guide.
Why a 10L camera bag is not always twice as useful as a 5L bag
A liter measures volume—1,000 cubic centimeters—not the shape of the space. Camera equipment has long, rigid dimensions and cannot be compressed like clothing. Two bags of equal capacity may be a tall narrow rectangle and a shallow wide box. One can support a camera with a long zoom attached while the other cannot, even when their published liters are identical.
Padded walls, dividers, suspended laptop sleeves, curved back panels and pocket construction take up room. Advertised bag volume can also include side pockets and non-camera compartments. Some makers separate total volume from camera compartment or device volume. Those numbers need to be interpreted before deciding whether a 17L model will hold more photography equipment than an 11L model.
For illustration, a completely empty rectangular space measuring 25 × 15 × 15 cm has a geometric bounding-box volume of 5.625 liters. Add thick partitions or a rounded zipper opening, and the practical camera fit becomes smaller. Conversely, the same space might hold two short lenses side by side but not one long lens mounted on a gripped body. Do not calculate bag fit from a volume formula alone.
Step 1: Lay out the kit you actually use
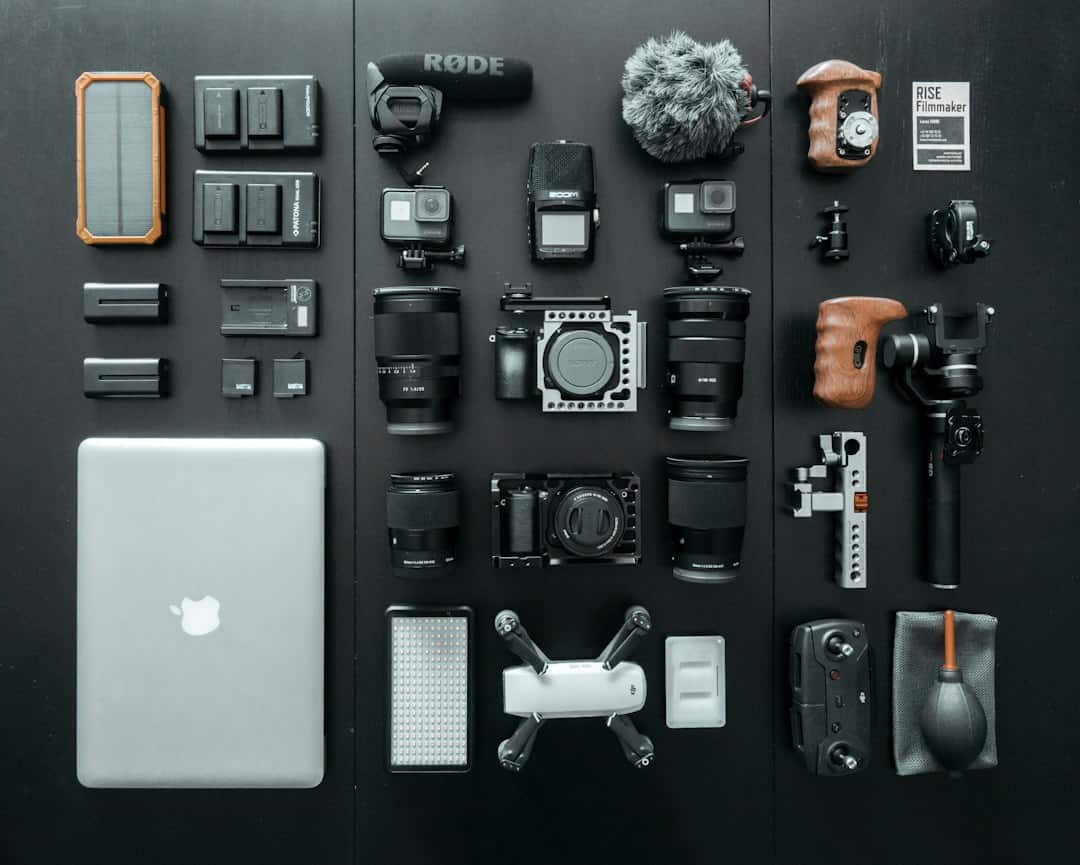
Before browsing capacity numbers, place your regular equipment on a clean surface. Separate the must-carry items from the just-in-case items. A large bag purchased for equipment that rarely leaves home often becomes a heavier, less enjoyable bag for every trip.
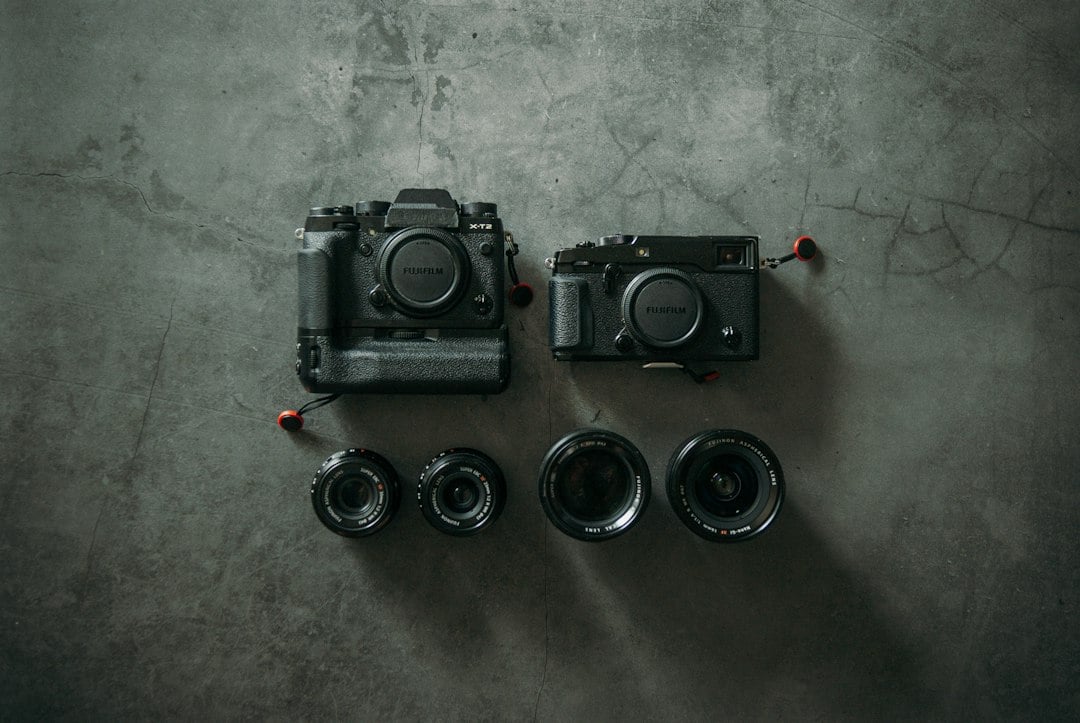
- Camera body: include its depth, grip, viewfinder hump and any attached plate or cage.
- Largest mounted lens: measure the assembled camera and lens as one object, including hood if the bag must accommodate it attached.
- Spare lenses: note the diameter and capped length of each; a fast zoom may be much bigger than a compact prime.
- Small accessories: batteries, charger, filter case, memory cards, cleaning cloth, remote and spare camera strap.
- Additional daily items: laptop, tablet, jacket, water, snacks, personal items and tripod.
- Travel requirements: any need to fit under a seat or into a specific airline’s cabin baggage allowance.
Keep your packed camera configuration realistic. If you normally store the camera with a standard zoom mounted, measure it that way. If you will detach the lens for travel, check both items individually, their protective dividers and the time needed to reassemble. Manufacturer examples that say “camera plus two lenses” may assume smaller equipment than yours.
Step 2: Compare internal dimensions, not the outside of the bag
External measurements tell you whether the bag itself will fit in a locker, overhead compartment or under a seat. Internal dimensions tell you what can fit inside. Treat those as separate questions. Even published internal measurements may describe a maximum box-like space rather than every usable corner, so the main opening and divider system still matter.
For a rectangular equipment bay, check all three measurements and whether the camera can be rotated safely. If the bag’s interior depth is less than the camera’s height or lens diameter in the orientation you need, extra liters elsewhere cannot fix the mismatch. Also measure the zipper opening: a padded compartment can be generous at the bottom yet too narrow for safe removal.
Look for a manufacturer’s camera compartment dimensions, not just the whole bag interior. Some backpacks reserve a separate zone for a jacket or laptop; you may not be able to move that space into the padded camera area. On modular bags, removable separators provide flexibility but still need adequate support and closure clearance.
Step 3: Account for lens orientation, padding and quick access
A tall lens placed vertically can save horizontal space, but only if the padded divider supports it and the compartment closes without pushing on the lens or its camera mount. A long telephoto mounted on a body often needs a continuous clear length. A camera with a thick grip or an L-bracket may need extra depth beyond the dimensions on the manufacturer’s bare-body specifications.
Leave practical room for getting the equipment out. You should not need to pry a camera through a zipper, force a lens hood under a rigid edge or move the heavy body onto an unpadded surface merely to reach a spare battery. A slightly more generous opening may be more valuable than two unused liters in a distant pocket.
Our camera backpack packing guide goes deeper into divider placement, weight distribution and organizing accessories, while the camera cubes and inserts guide explains why a removable padded module must fit both the equipment and its outer backpack.
Manufacturer examples: what real capacity labels mean
The following examples show why exact model specifications are more useful than a broad “best bag size” rule. They are product-design references, not direct test results or a live price comparison.
| Model or family | Advertised capacity | Manufacturer-reported details relevant to fit |
|---|---|---|
| Peak Design Everyday Sling | 3L / 6L / 10L versions | Three distinct sling sizes; check chosen version’s size guide and camera compatibility |
| Lowepro Flipside 200 AW II | 11L total | Camera interior 20.5 × 12.6 × 38 cm; external 24.5 × 20 × 43.5 cm |
| Lowepro ProTactic BP 350 AW III | 17L total; 15L device volume | Main camera compartment 14.5 × 27.5 × 44 cm; external 19 × 31.5 × 47 cm |
| Peak Design Everyday Backpack | 20L / 30L versions | Expanding everyday/photo backpacks with configurable dividers and side access |
2–10 liters: compact slings and small camera systems
The Peak Design Everyday Sling is offered in 3L, 6L and 10L sizes. That demonstrates why “sling” is not a single carrying capacity. A 3L-class bag is best considered for a small camera or minimal mirrorless kit; the larger versions provide more room for additional equipment, but they still use a single shoulder strap. A bag that has enough space for a large lens may not be the most comfortable way to carry it for hours.
Before choosing the 3L or 6L, check the camera body with its mounted lens against the actual internal height and depth. If the kit requires an awkward orientation or the lid presses on the camera, do not assume upgrading to the next nominal liter rating will solve the problem without inspecting its different geometry. Slings prioritize access and mobility, not maximum load.
11 liters: a compact backpack can still hold a serious camera
Lowepro lists the Flipside 200 AW II as an 11L backpack with an internal size of 20.5 × 12.6 × 38 cm. The manufacturer states that it can accommodate a mirrorless or DSLR camera with a 70–200 mm lens attached plus one or two extra lenses, depending on the gear. That is a striking example of a relatively small volume organized for a long camera-and-lens shape.
The practical takeaway is not that all 11L bags fit any 70–200 mm lens. Different versions of that zoom vary in length and width, and a camera grip can change the assembled size. It means that the bag’s geometry and intended equipment orientation may be more useful than its total liter rating. See our Flipside 200 AW II article for broader design considerations.
17 liters: separating device space from total volume
The Lowepro ProTactic BP 350 AW III lists 17L total volume and 15L device volume, with a main camera compartment measuring 14.5 × 27.5 × 44 cm. It also has a distinct laptop compartment. This is a helpful reminder that not every advertised liter is the same kind of usable space; a bag may dedicate some of its total space to accessories, device sleeves or organizational structure.
For someone balancing a body, multiple lenses and a tablet or laptop, a pack with clearly separated spaces can be easier to organize than a similarly rated bag with one unstructured interior. But its published 2.3 kg empty weight is part of your carried load. Compare capacity and harness comfort as a system rather than selecting a larger pack by default. Our ProTactic 350 AW review covers a previous generation and should not be mistaken for the current III model.
20–30 liters: camera kit plus everyday or travel gear
The Peak Design Everyday Backpack is offered in 20L and 30L sizes, with adjustable dividers and dual side access. This category tends to make more sense when the bag also carries a laptop, travel supplies, an extra layer or other personal belongings. The larger size may improve general storage, but a poorly arranged camera compartment can still waste space.
If you are selecting an all-day travel bag, measure two separate loads: the camera equipment you need available during the day and everything else you must carry. Hiking clothing, food and water should not simply be stacked on top of unprotected lenses. When you add non-camera items, pay attention to total weight, backpack harness and how easily you can access the camera without unloading the pack.